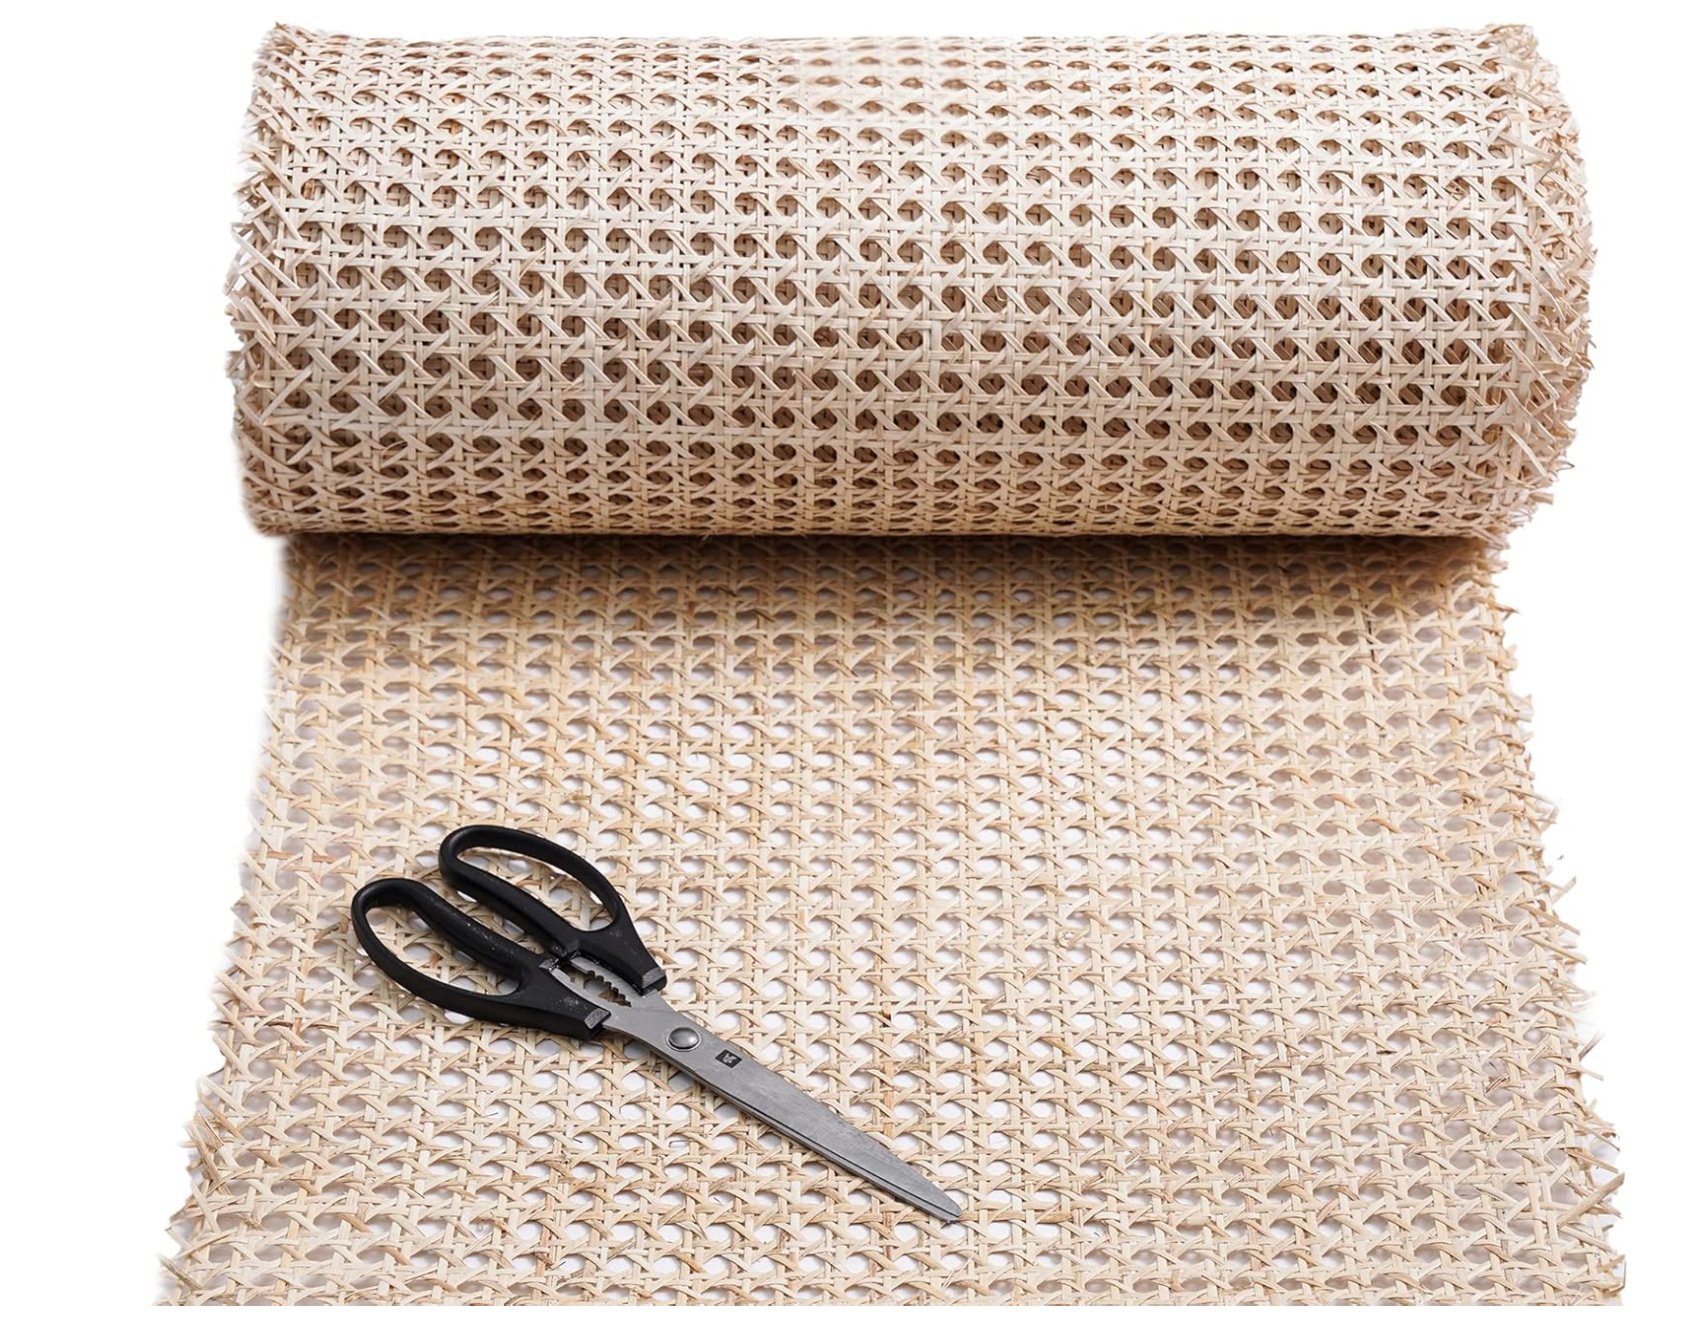
How To Use And Apply Cane Webbing Rattan
Cane webbing is a stylish and versatile material used for furniture, cabinet doors, and decorative panels. If you’re looking to install cane webbing on your project, follow this guide to ensure a professional finish.
What You’ll Need
Before starting, gather the following materials:
Cane webbing (pre-measured to your project)Scissors or a utility knifeLarge container or bathtub for soakingWarm waterMeasuring tapeWood glue or staple gunTrim (optional for finishing edges)Clamps (for securing while drying)Sanding block (for smoothing edges
Step 1: Measure & Cut the Cane Webbing
Start by measuring the area where the cane webbing will be applied. Add an extra 2-3cm on all sides to allow for adjustments.
Cut the cane webbing using sharp scissors or a utility knife
Step 2: Soak the Cane Webbing
Cane webbing needs to be soaked before application to make it flexible and easier to work with.
Fill a bathtub or large container with warm water and submerge the webbing for 30-60 minutes.
Check periodically to ensure it’s fully pliable but not over-soaked (which can make it too soft).
This process expands the fibers so that when they dry, they tighten onto the surface.
Step 3: Secure the Cane Webbing to the Frame
Once soaked, remove the cane webbing from the water and pat it dry with a towel.
For Cabinets or Panels:
Place the webbing over the frame and secure it using wood glue and a staple gun.
Start in the center and work outward to keep it evenly stretched.
Press down firmly to remove air pockets.
For Chairs:
Position the webbing and tuck it into the groove using a spline roller or a blunt tool.
If using a spline, apply wood glue into the groove before pressing the webbing in.
Step 4: Trim Excess Webbing
Once secured, use scissors or a utility knife to trim off any excess webbing along the edges.
For a clean look, sand the edges with a fine sanding block.
Step 5: Let It Dry & Tighten
Allow the cane webbing to dry for at least 24 hours in a well-ventilated area. As it dries, it will naturally tighten, creating a firm and professional finish.
Check for any loose areas and reinforce them with glue or additional staples if necessary.
Step 6: Apply Trim (Optional for a Finished Look)
For a polished appearance, you can add wood trim or splines to cover the edges.
Secure trim with small nails or wood glue.
Paint or stain the trim to match the project.
Need Cane Webbing for Your Next Project?
At Westfield Rattan, we provide high-quality cane webbing in various sizes and styles. Check out our range HERE to get started on your next project!


